Saturday, December 31, 2011

Framing Fabric

Framing fabric is a good way to add color or a pattern to any wall! Greg and I made these wooden frames for our kitchen and framed some fun fabric to match the other decor.  It was a great way to brighten up our boring, white apartment walls!

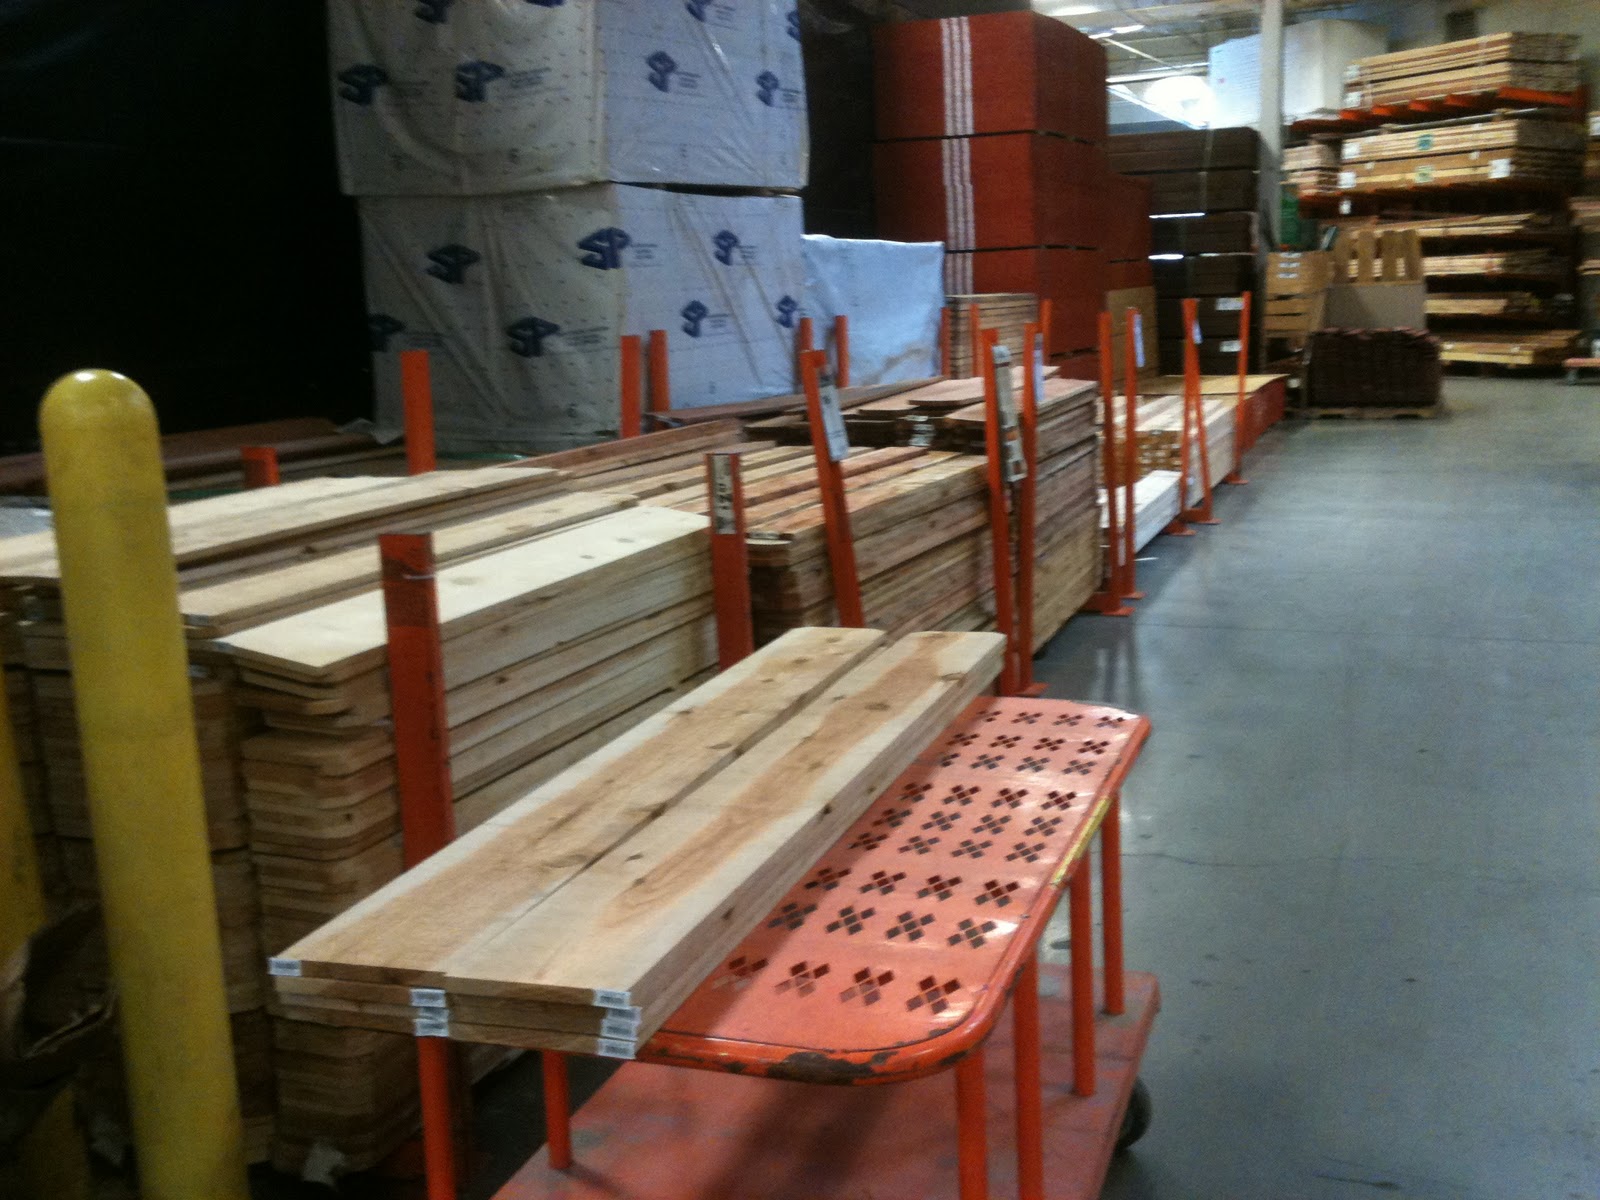
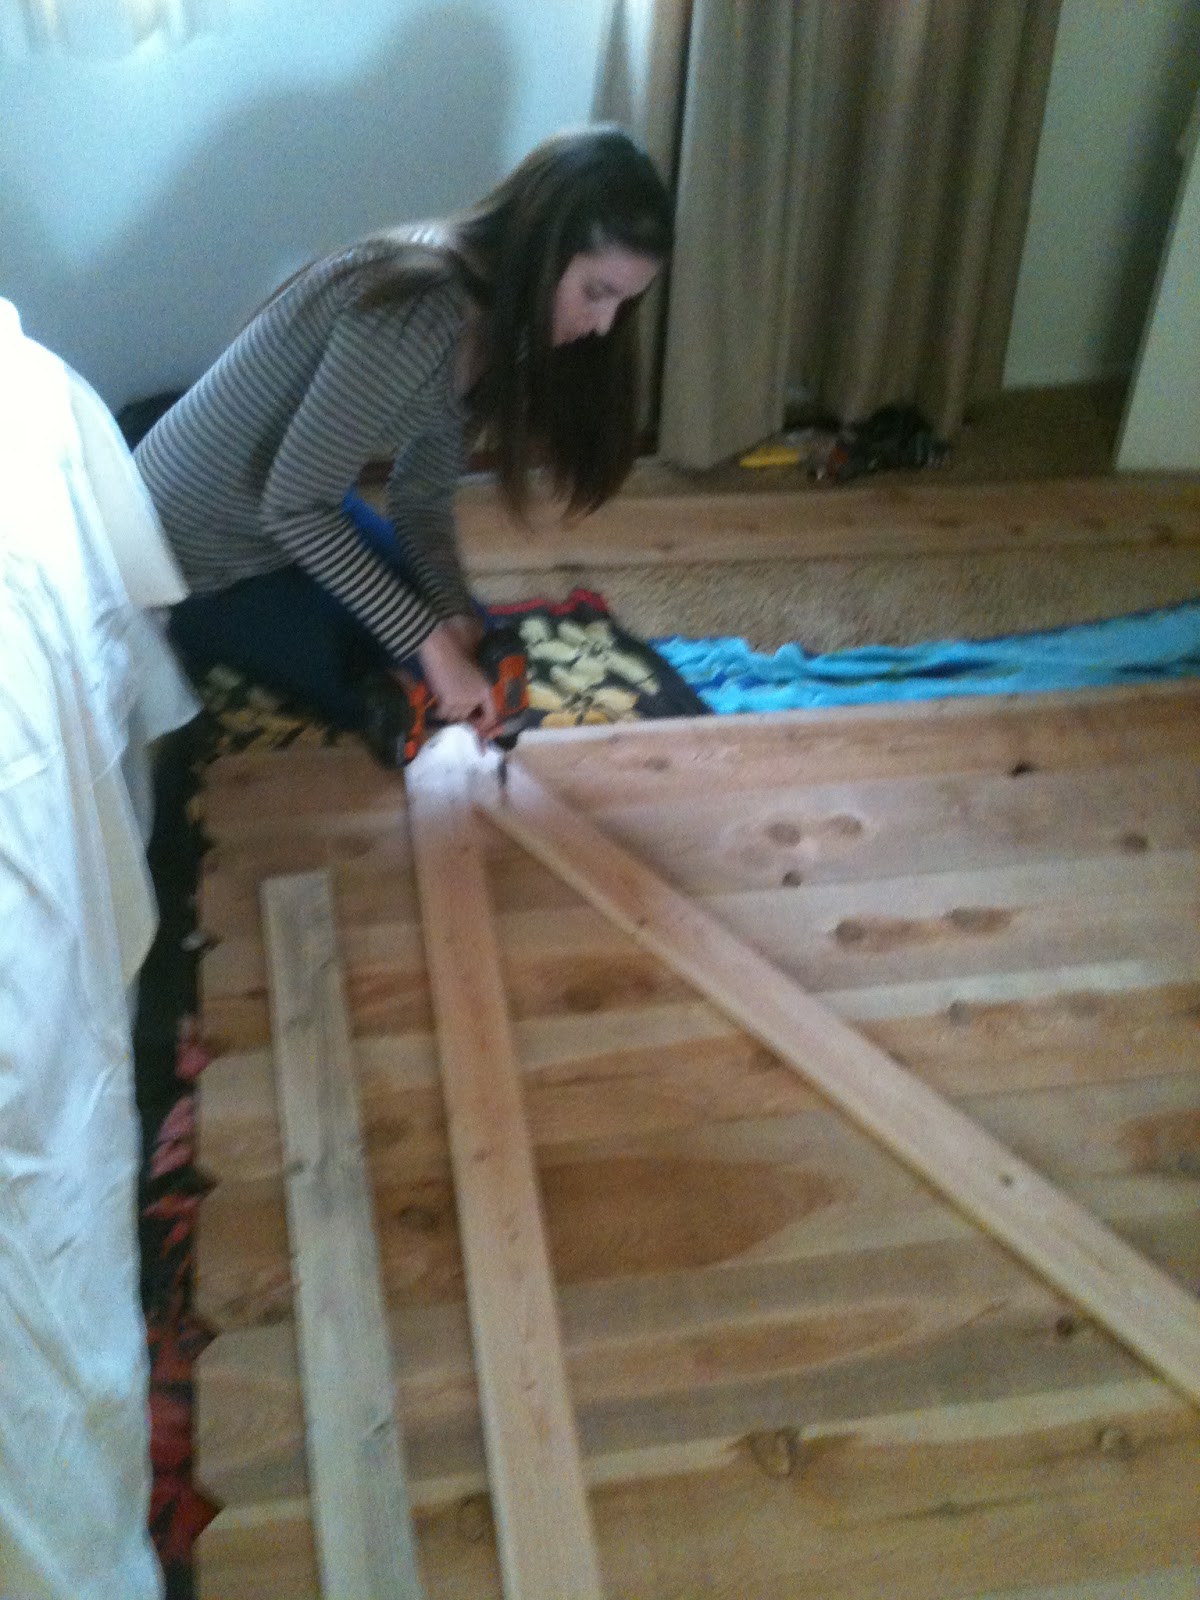
First we measured and cut the wood pieces (douglas fir, 2 in by 4 in) to fit the wall of the kitchen and used a router to cut the channels down the inside middle to fit the fabric into.


Lightly stained the pieces (Minwax- Early American).


We simply wrapped the fabric around cardboard then ducked taped it (Greg's favorite part!) to keep it in place.  Then placed the fabric board into the cut channels and screwed the pieces into place.  

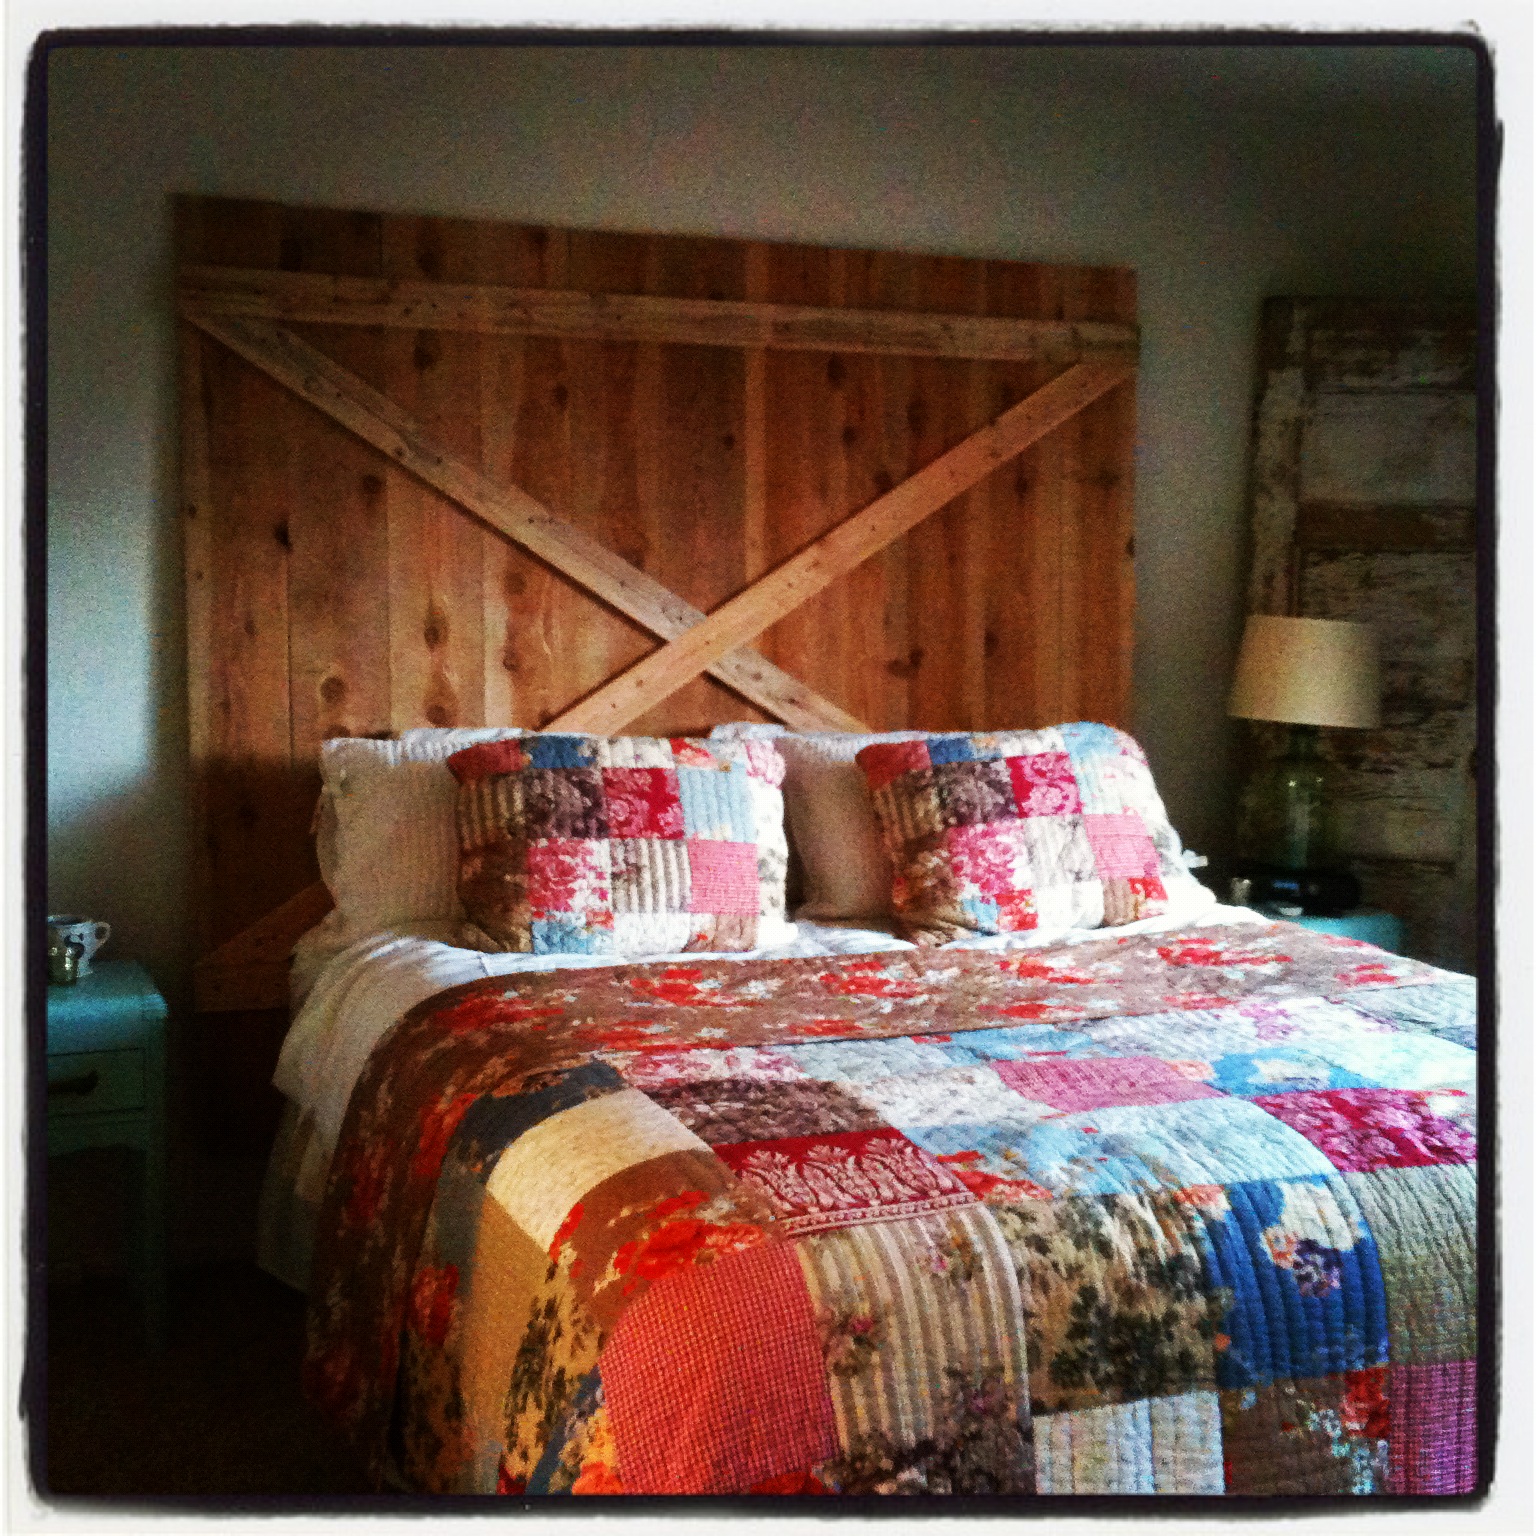
So cheap and easy!  Love it!


I also did the same thing with a frame and some burlap fabric.


Small canvas print 


I wrapped the burlap around a piece of form board and secured it into place with pushpins (you can also use a hot glue).


Then used pushpins to hold up the small canvas print.  Again, so cheap and easy! ....Have I mentioned we are newlyweds on a budget :)

VoilĂ ! Happy Crafting!


Friday, December 30, 2011

Little Blue Desk


When Greg and I moved to Ocean Beach last year we needed a little desk to fit in our new little home.  Since we don't have a big budget for home decor, I searched Craigslist and found this cute little white sewing desk selling for $20.  It was the perfect size and after hearing our story (newlyweds, just moved into town) he gave it to us for FREE!  (What a nice man!)

Just the right size!  After Greg took his sander to the sides of the printer it fit right in there! :)


And now the makeover...

After some pretty blue paint (Home Depot- Martha Stewart- Artesian Well), a little home made curtain, and some new Anthropologie knobs (I had a giftcard- thanks mom!)...

Ta-da!  A new desk!


The printer still tucked away, but now hidden by the curtain.


Love these knobs!


I love how the little blue desk turned out!  

It only cost me about $15 to make (giftcards don't count in my brain) and it's perfect for storing our office essentials! 

Wednesday, December 28, 2011

Headboard

Greg and I made this headboard in just a few hours and I love the character adds to the room!  Here is a brief step by step on how it came together.

#1- At Home Depot we bought 11 cedar strips- all 6ft by 7.5in.  As well as some thinner boards for the cross pieces.


#2- Lined up the wood to make sure it was nice and straight!


 #3-  Measured the cross pieces to cut (we did not have to cut the 6ft pieces)


#4- Screwed the cross pieces into the vertical pieces.


#5-  The headboard finished!  

Thanks Husband for your help!  I love how it turned out!  

I think I'll add some more of the projects we have made over the next week :) Stay tuned!